<?xml version="1.0" standalone="yes"?>
Depending on the vehicle, they may comprise:
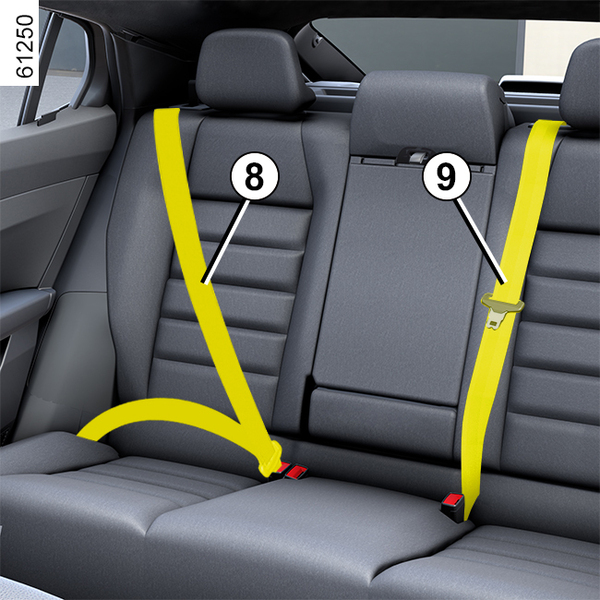
- side seat belt inertia reel pretensioners;
- chest force limiters.
These systems are designed to act independently or together when the vehicle is subjected to a frontal impact.
Depending on the severity of the impact, the system can cause: