Installation and use of accessories: important recommendations

<?xml version="1.0" standalone="yes"?>
warning

Electrical and electronic accessories

Before installing this type of accessory (particularly for transmitters/receivers: frequency bandwidth, power level, position of the aerial, etc.), make sure it is compatible with your vehicle. Contact an approved dealer.

Chapter

Fuses

<?xml version="1.0" standalone="yes"?>

Fuse boxes

10002_XFKEV_572_1_image.jpeg

If any electrical component does not work, check the condition of the fuses.

Fuses in the passenger compartment A

Place your hand in location 2 and pull to open the flap 1.

Chapter

Wiper blades: replacement

<?xml version="1.0" standalone="yes"?>

Replacing the windscreen wiper blades 2

10002_XFKEV_182_1_image.jpeg

To replace the wipers, first put them in the service position B.

With the ignition on and the engine stopped:

Chapter

Exterior lighting: replacing bulbs

<?xml version="1.0" standalone="yes"?>

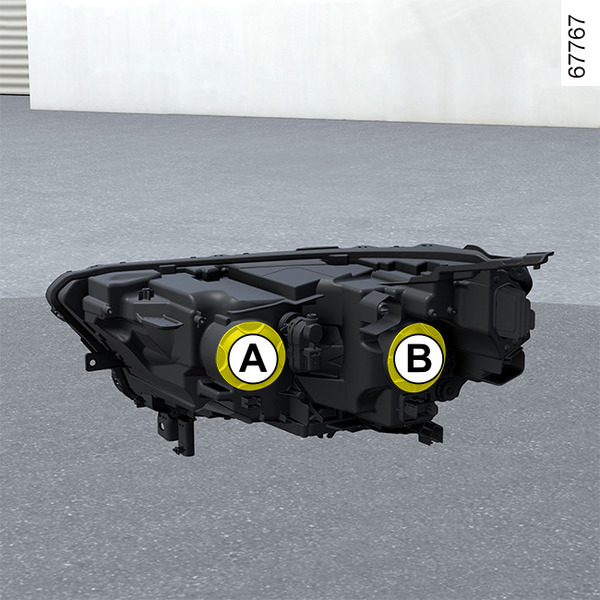
Headlights: changing bulbs

Vehicles with halogen headlights

10002_XFKEV_444_1_image.jpeg

Dipped beam headlights

Remove the cover A.

Move the bulb holder 1 to unclip it and replace the bulb.

Chapter

Battery: breakdown recovery

<?xml version="1.0" standalone="yes"?>

To avoid all risk of sparks:

  • Ensure that the "energy consumers" (ceiling lights, etc.) are switched off before disconnecting or reconnecting a battery;
  • when charging, switch off the charger before connecting or disconnecting the battery;
  • do not place any metal objects on the battery as this may create a short circuit across the terminals;
  • wait for at least five minutes after switching off the engine before disconnecting the battery;
  • make sure that you reconnect the battery terminals

Chapter

Towing: breakdown recovery

<?xml version="1.0" standalone="yes"?>

Before towing, set the gearbox to neutral (position N on vehicles with an automatic gearbox), unlock the steering column and then release the parking brake.

Steering column unlocking

Chapter

Wheel trims, wheel trim – wheel

<?xml version="1.0" standalone="yes"?>

Wheel trim with concealed wheel bolts

10002_XFKEV_438_1_image.jpeg

Remove it using the hubcap tool 1 (located in the tool kit) by engaging the hook in the opening near the valve 2.

Chapter